


You are viewing documentation for KubeSphere version:v3.0.0
KubeSphere v3.0.0 documentation is no longer actively maintained. The version you are currently viewing is a static snapshot. For up-to-date documentation, see the latest version.


Deploy MinIO on KubeSphere
MinIO object storage is designed for high performance and the S3 API. It is ideal for large, private cloud environments with stringent security requirements and delivers mission-critical availability across a diverse range of workloads.
This tutorial walks you through an example of deploying MinIO from the App Store of KubeSphere.
Prerequisites
- Please make sure you enable the OpenPitrix system.
- You need to create a workspace, a project, and a user account (
project-regular) for this tutorial. The account needs to be a platform regular user and to be invited as the project operator with theoperatorrole. In this tutorial, you log in asproject-regularand work in the projectdemo-projectin the workspacedemo-workspace. For more information, see Create Workspaces, Projects, Accounts and Roles.
Hands-on Lab
Step 1: Deploy MinIO from the App Store
-
On the Overview page of the project
demo-project, click App Store in the top left corner.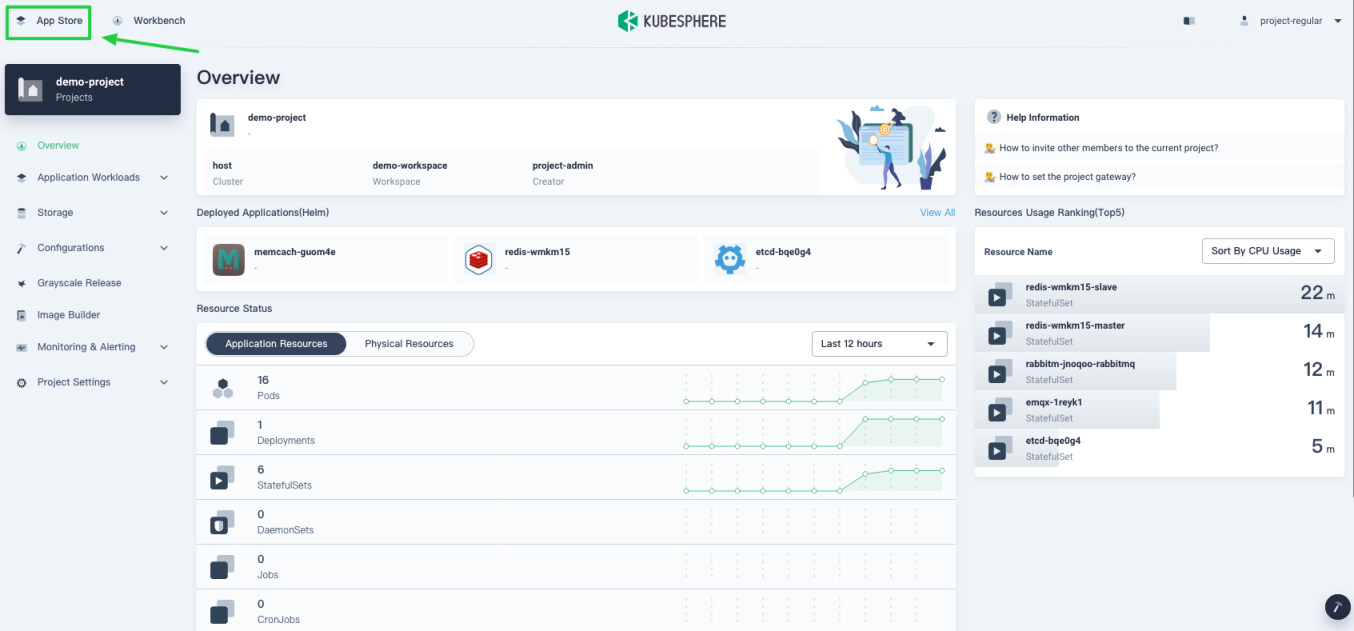
-
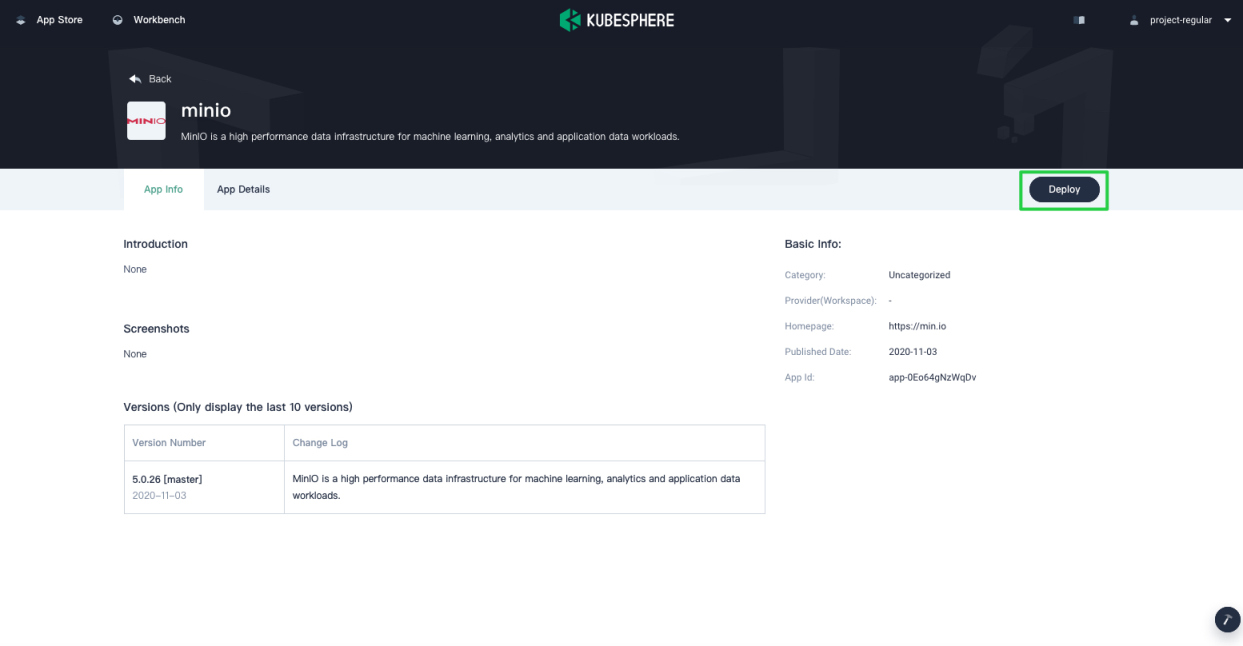
Find MinIO and click Deploy on the App Info page.

-
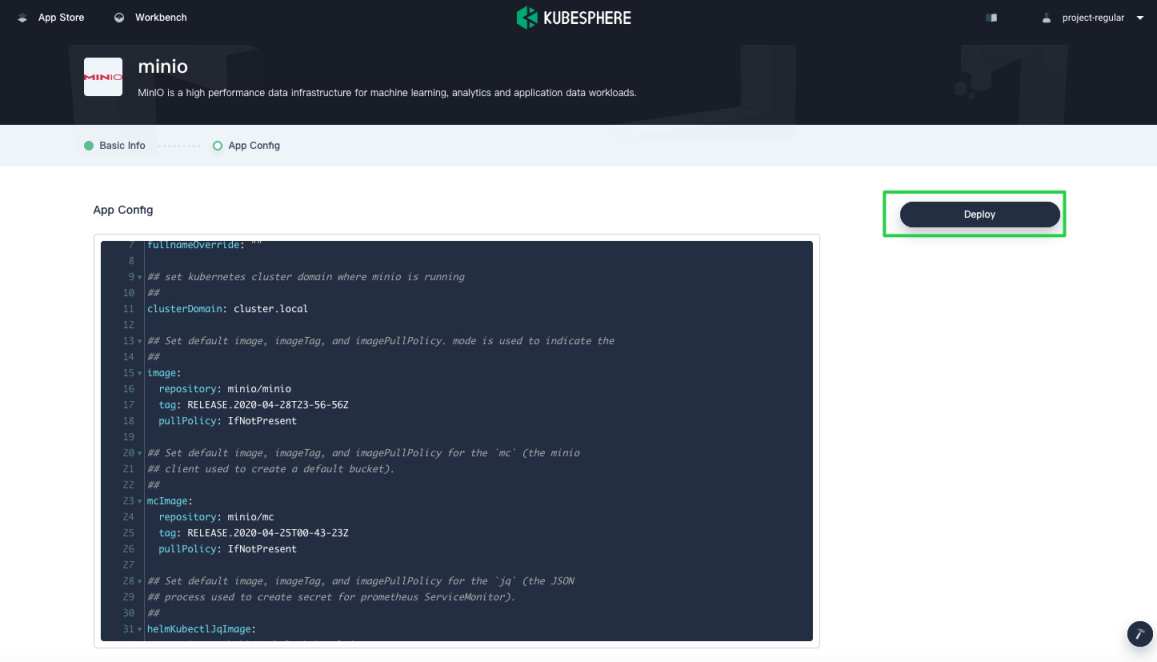
Set a name and select an app version. Make sure MinIO is deployed in
demo-projectand click Next.
-
In App Config, you can use the default configuration or customize the configuration by editing the YAML file directly. Click Deploy to continue.
-
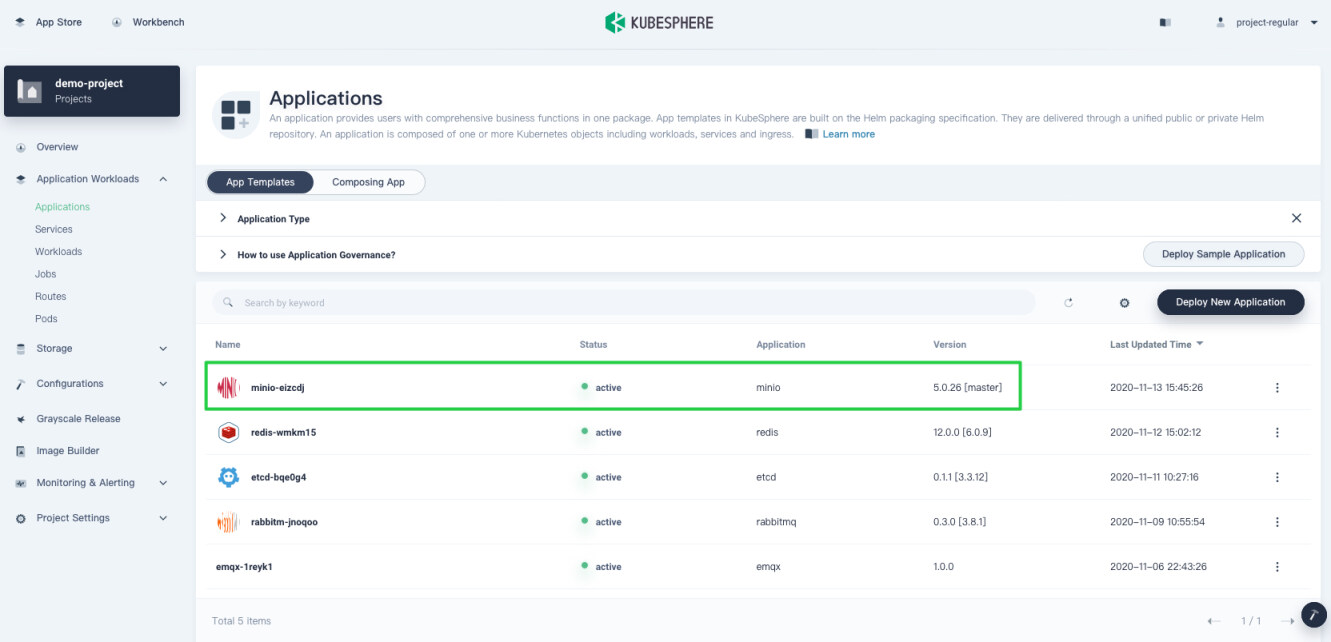
Wait until MinIO is up and running.
Step 2: Access the MinIO Browser
To access MinIO outside the cluster, you need to expose the app through a NodePort first.
-
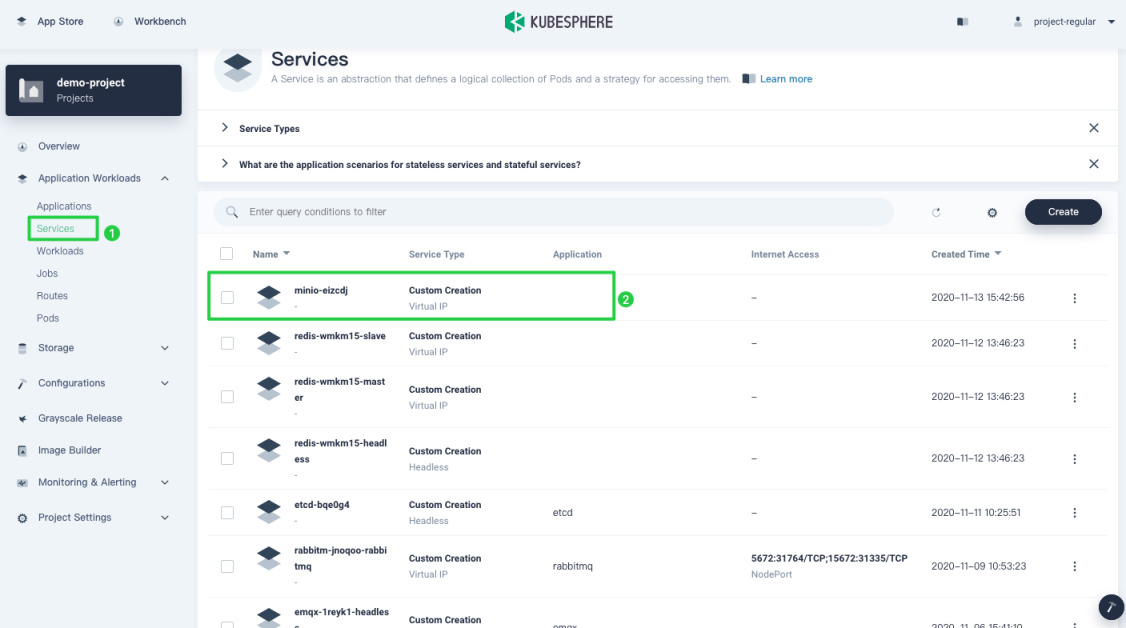
Go to Services and click the service name of MinIO.
-
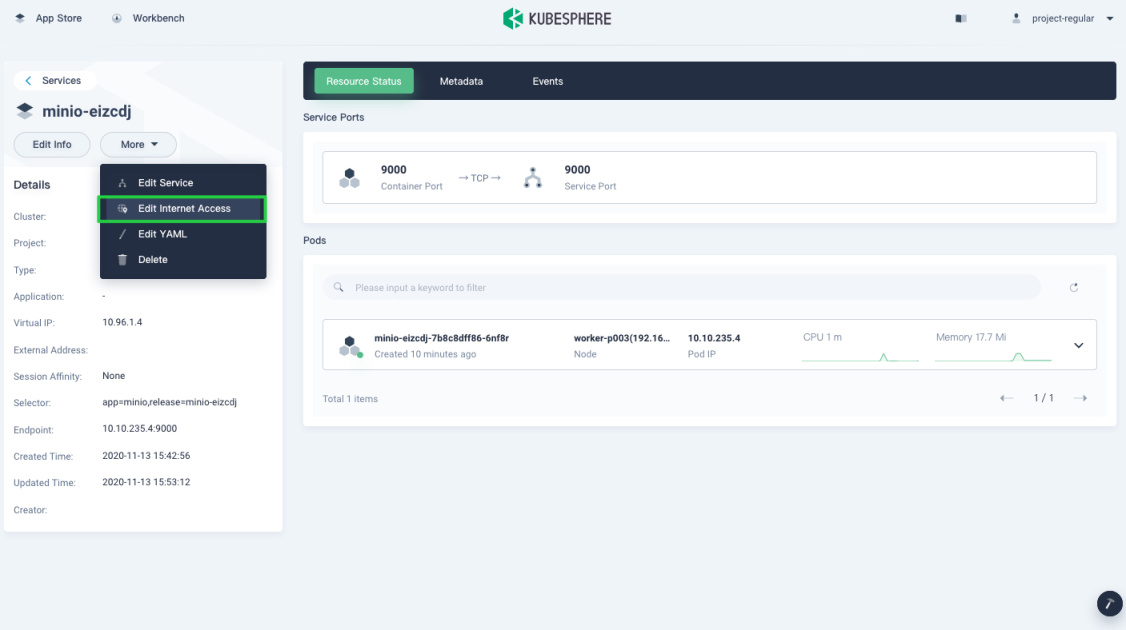
Click More and select Edit Internet Access from the drop-down menu.
-
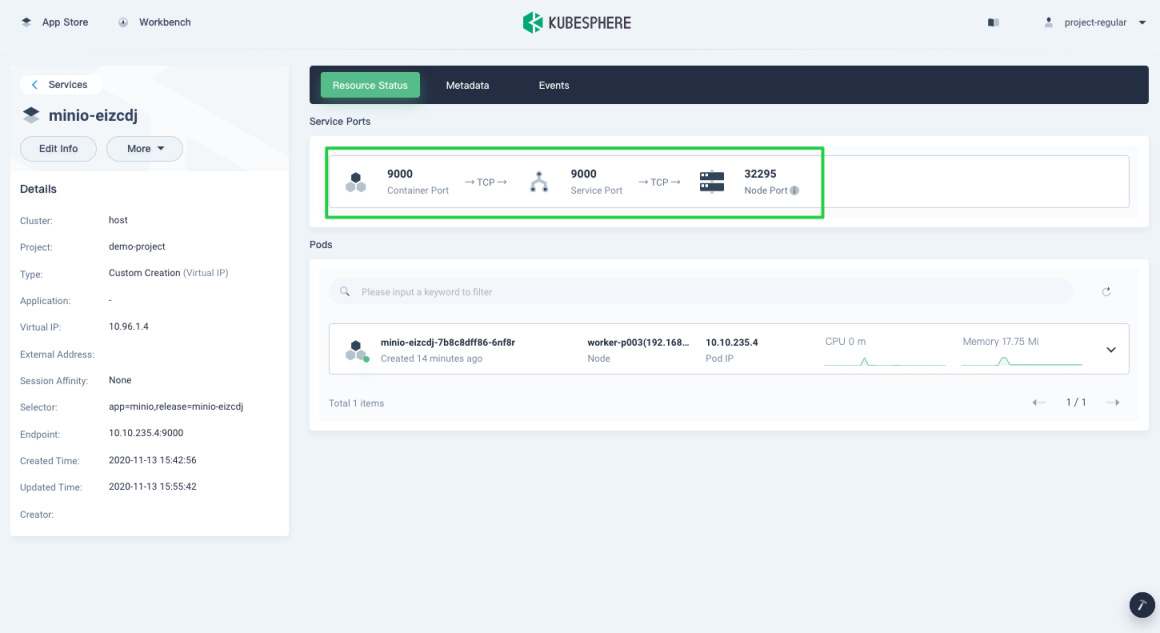
Select NodePort for Access Method and click OK. For more information, see Project Gateway.

-
Under Service Ports, you can see the port is exposed.
-
To access the MinIO browser, you need
accessKeyandsecretKey, which are specified in the configuration file of MinIO. Go to App Templates in Applications, click MinIO, and you can find the value of these two fields under the tab Configuration Files.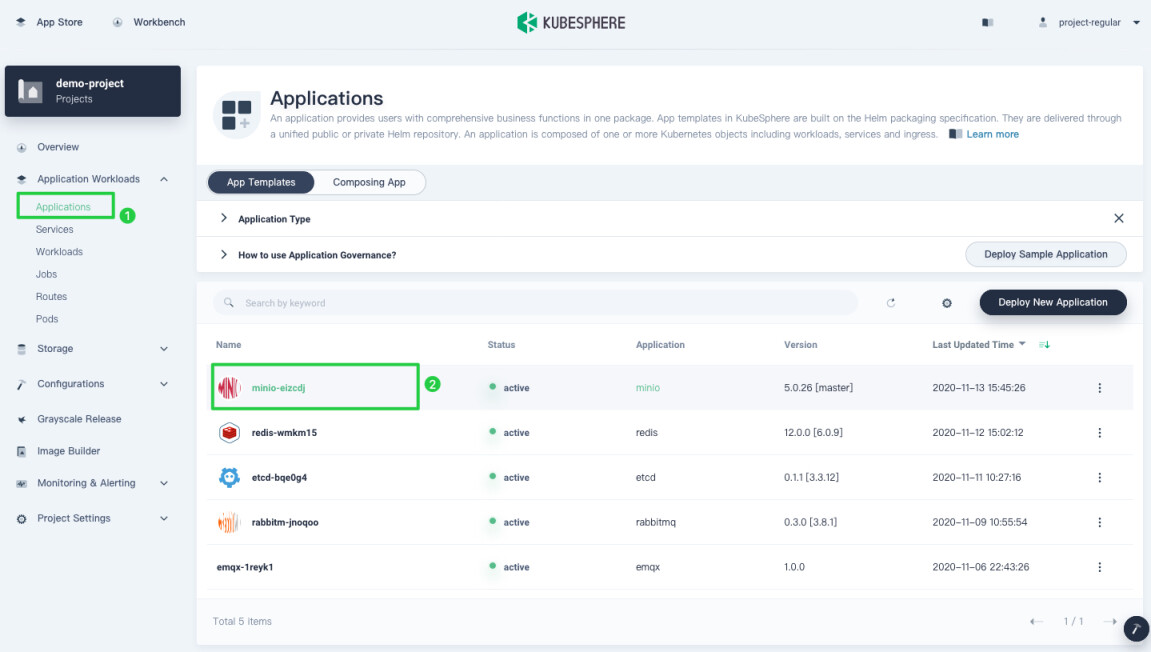
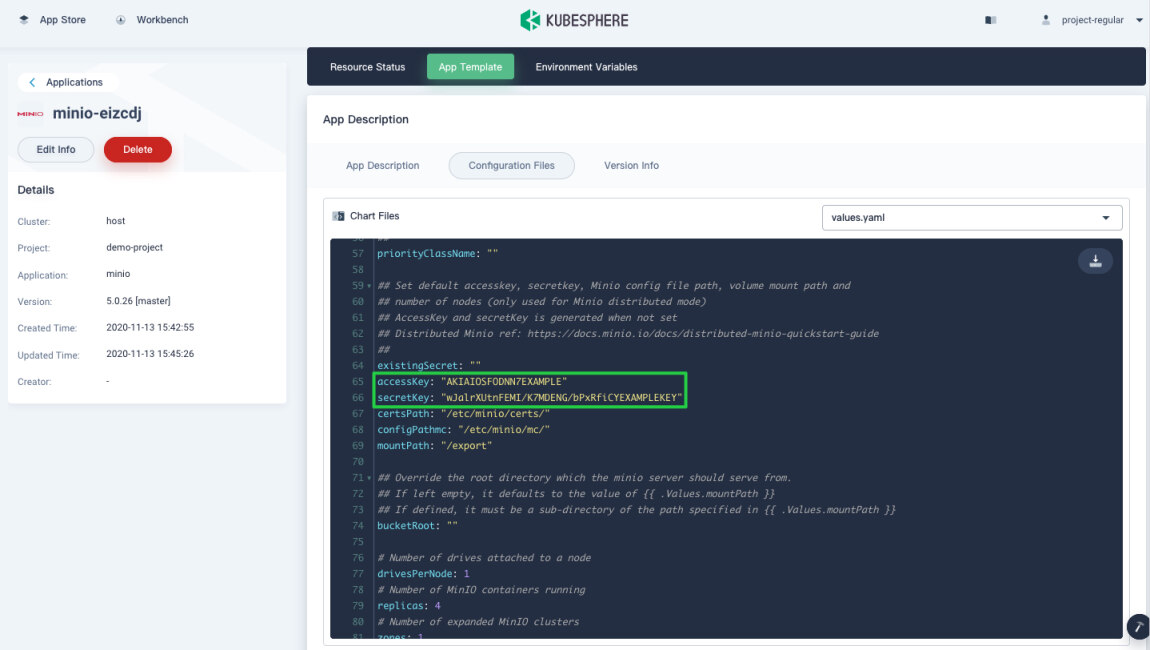
-
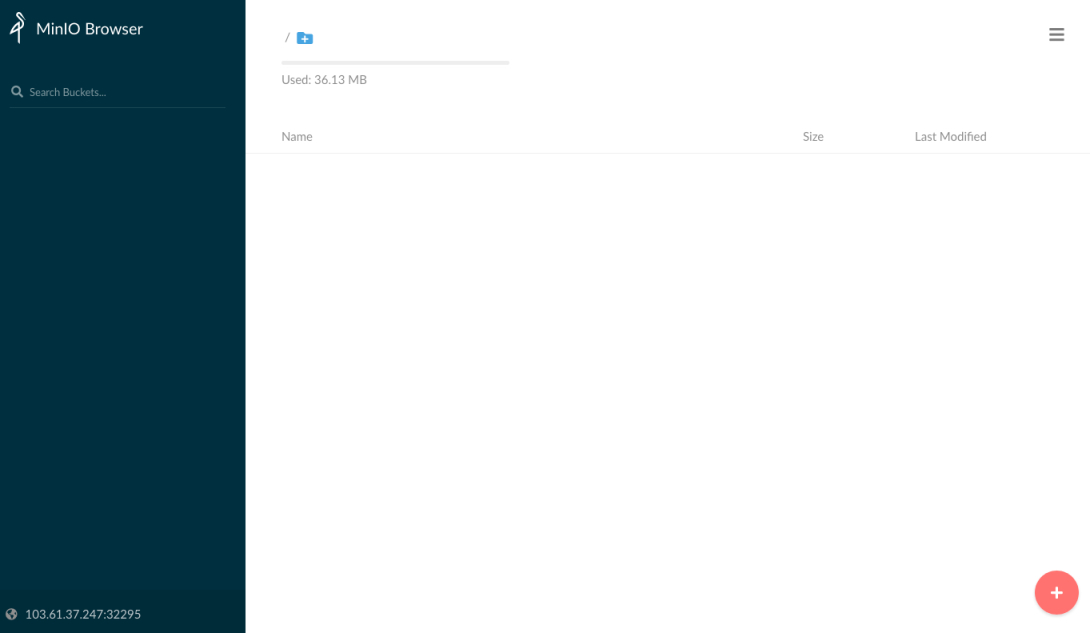
Access the MinIO browser through
{$NodeIP}:{$Nodeport}usingaccessKeyandsecretKey.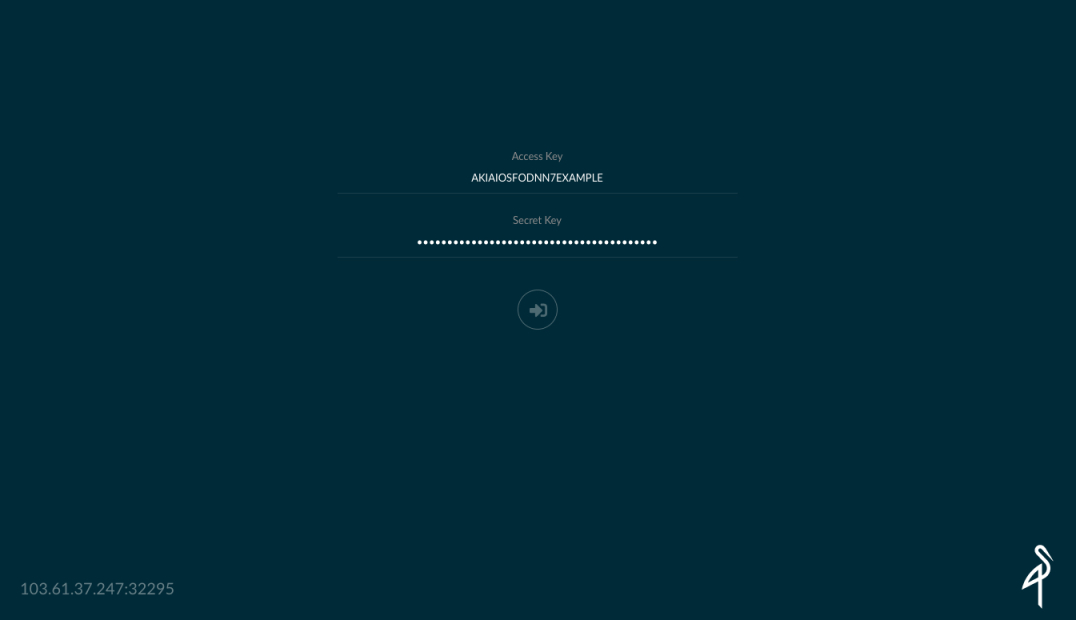
Note
You may need to open the port in your security groups and configure related port forwarding rules depending on your where your Kubernetes cluster is deployed. -
For more information about MinIO, refer to the official documentation of MinIO.
 Previous

What’s on this Page