


You are viewing documentation for KubeSphere version:v3.0.0
KubeSphere v3.0.0 documentation is no longer actively maintained. The version you are currently viewing is a static snapshot. For up-to-date documentation, see the latest version.


Projects and Multi-cluster Projects
A project in KubeSphere is a Kubernetes namespace, which is used to organize resources into non-overlapping groups. It represents a logical partitioning capability as it divides cluster resources between multiple tenants.
A multi-cluster project runs across clusters, empowering users to achieve high availability and isolate occurring issues to a certain cluster while not affecting your business. For more information, see Multi-cluster Management.
This chapter demonstrates the basic operations of project administration, such as creation and deletion.
Prerequisites
- You have an available workspace.
- You must have the authorization of Projects Management, which is included in the built-in role
workspace-self-provisioner. - You must enable the multi-cluster feature through Direction Connection or Agent Connection before you create a multi-cluster project.
Projects
Create a project
-
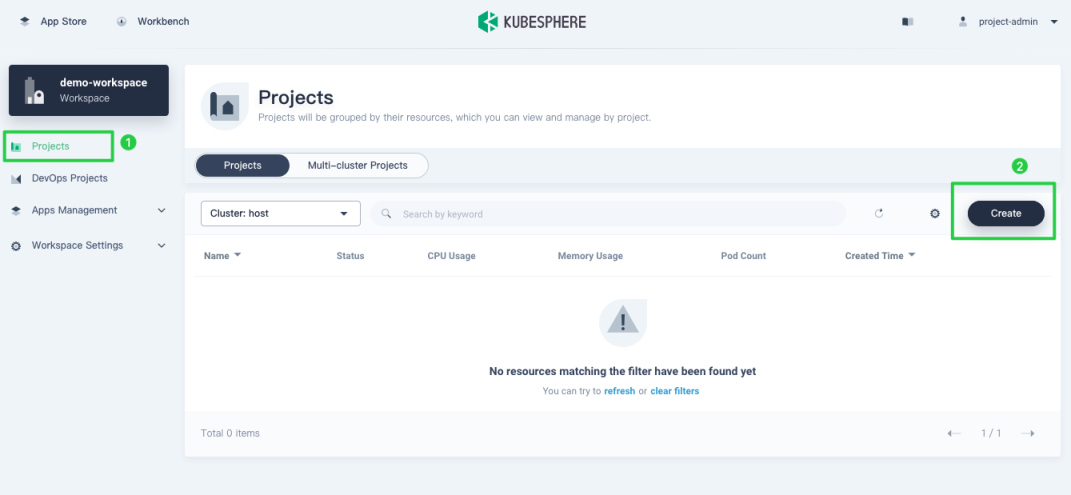
Go to the Projects page of a workspace and click Create.
Note
- You can change the cluster where the project will be created on the Cluster drop-down list. The list is only visible after you enable the multi-cluster feature.
- If you cannot see the Create button, it means no cluster is available to use for your workspace. You need to contact the platform administrator or cluster administrator so that workspace resources can be created in the cluster. To assign a cluster to a workspace, the platform administrator or cluster administrator needs to edit Cluster Visibility on the Cluster Management page.
-
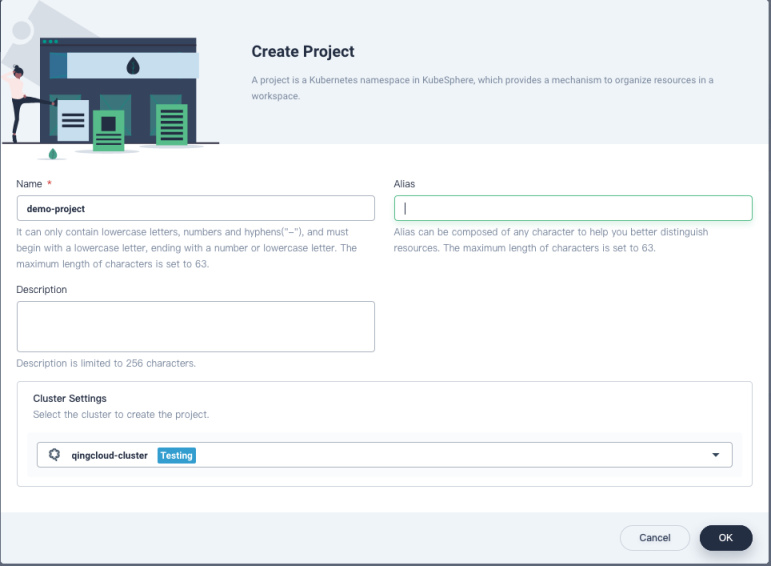
In the Create Project window that appears, enter a project name and add an alias or description if necessary. Select the cluster where the project will be created (this option does not appear if the multi-cluster feature is not enabled), and click OK to finish.
-
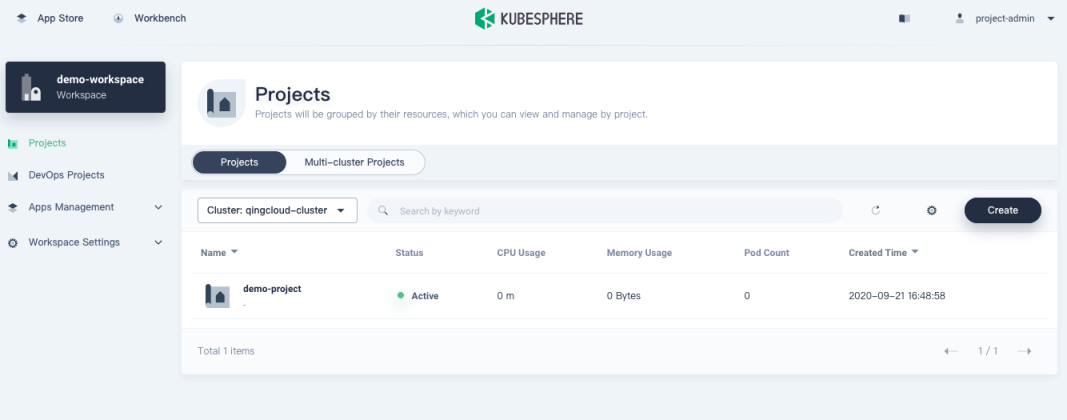
A project created will display in the list as shown below. You can click the project name to go to its Overview page.
Edit project information
-
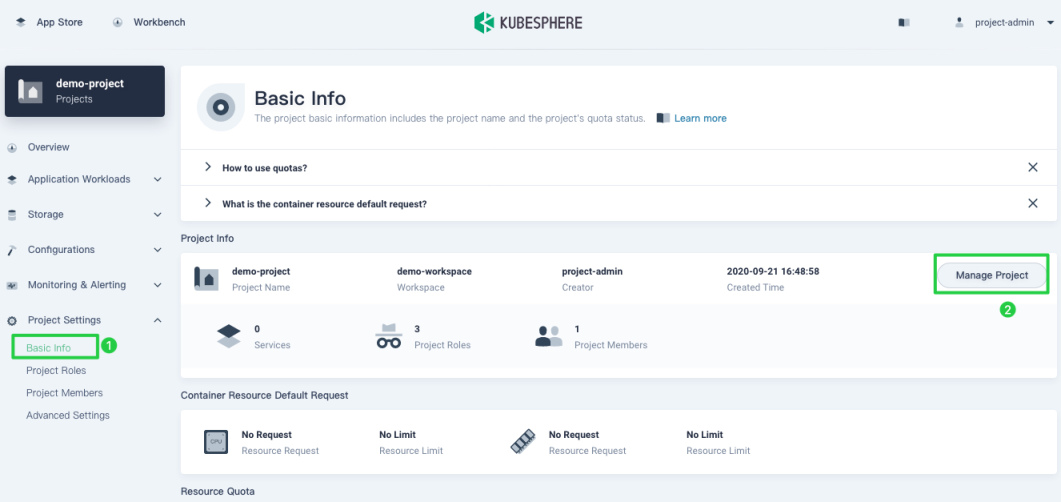
Navigate to Basic Info under Project Settings and click Manage Project on the right.
-
Choose Edit Info from the drop-down menu.
Note
The project name cannot be edited. If you want to change other information, see relevant chapters in the documentation.
Delete a project
-
Navigate to Basic Info under Project Settings and click Manage Project on the right.
-
Choose Delete Project from the drop-down menu.
-
In the dialog that appears, enter the project name and click OK to confirm the deletion.
Warning
A project cannot be recovered once deleted and resources in the project will be removed as well.
Multi-cluster Projects
Create a multi-cluster project
-
Go to the Projects page of a workspace, choose Multi-cluster Projects and click Create.
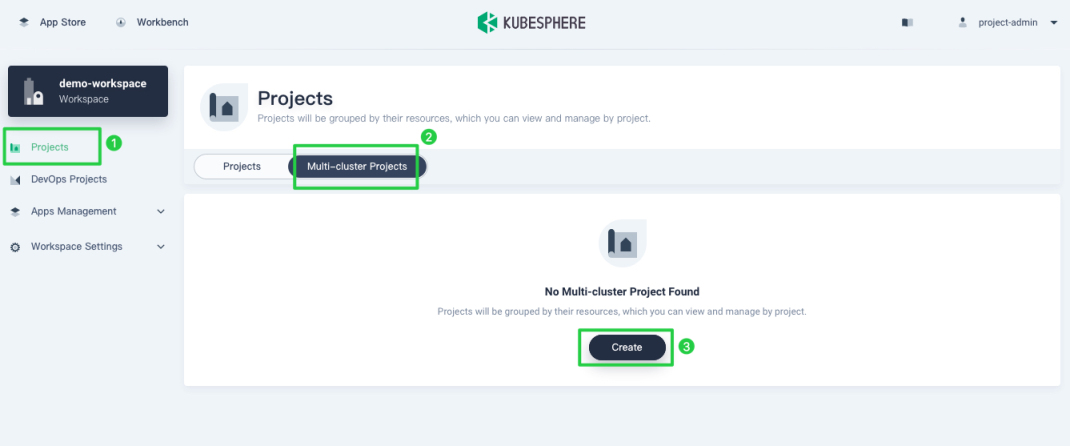
Note
- If you cannot see the Create button, it means no cluster is available to use for your workspace. You need to contact the platform administrator or cluster administrator so that workspace resources can be created in the cluster. To assign a cluster to a workspace, the platform administrator or cluster administrator needs to edit Cluster Visibility on the Cluster Management page.
- Make sure at least two clusters are assigned to your workspace.
-
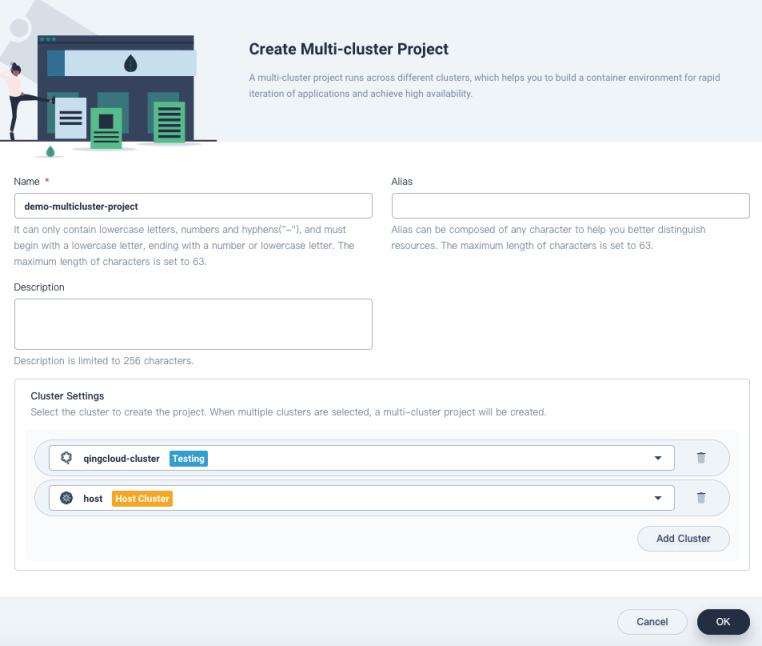
In the Create Multi-cluster Project window that appears, enter a project name and add an alias or description if necessary. Select multiple clusters for your project by clicking Add Cluster, and click OK to finish.
-
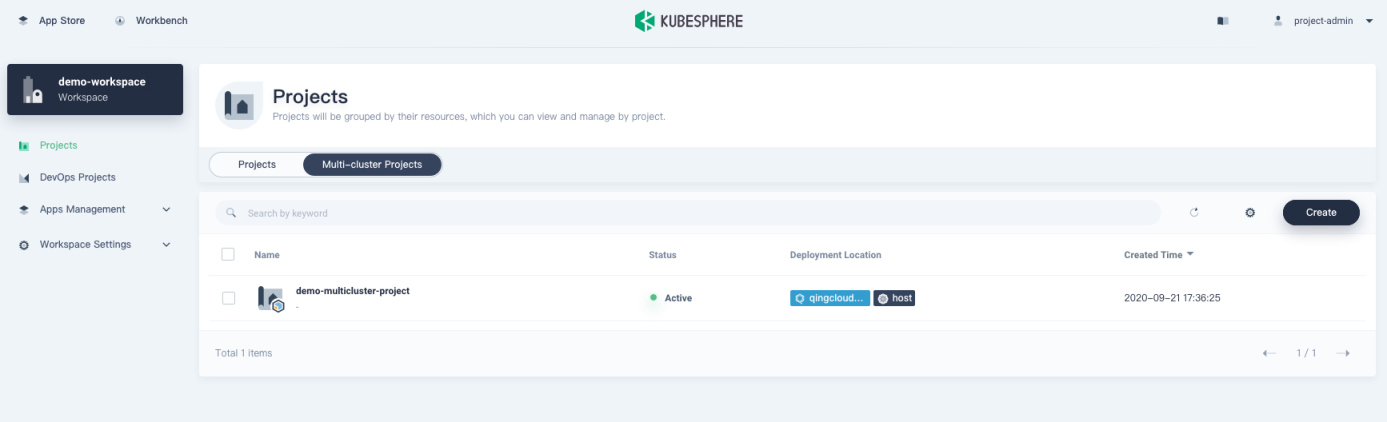
A multi-cluster project created will display in the list as shown below. You can click the project name to go to its Overview page.
Edit multi-cluster project information
-
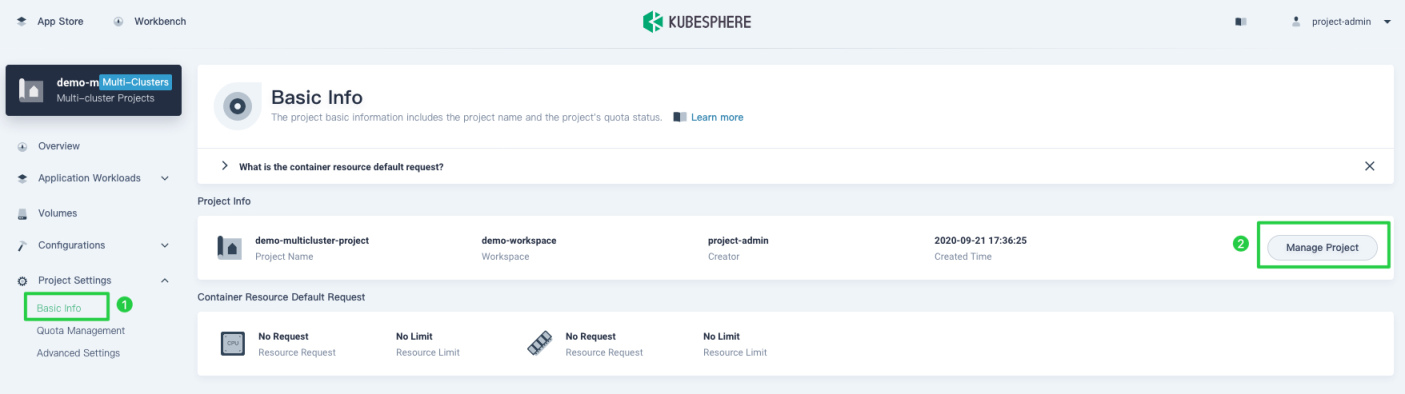
Navigate to Basic Info under Project Settings and click Manage Project on the right.
-
Choose Edit Info from the drop-down menu.
Note
The project name cannot be edited. If you want to change other information, see relevant chapters in the documentation.
Delete a multi-cluster project
-
Navigate to Basic Info under Project Settings and click Manage Project on the right.
-
Choose Delete Project from the drop-down menu.
-
In the dialog that appears, enter the project name and click OK to confirm the deletion.
Warning
A multi-cluster project cannot be recovered once deleted and resources in the project will be removed as well.
 Previous

What’s on this Page