


KubeSphere 日志系统
什么是 KubeSphere 日志系统
KubeSphere 为日志收集、查询和管理提供了一个强大的、全面的、易于使用的日志系统。它涵盖了不同层级的日志,包括租户、基础设施资源和应用。用户可以从项目、工作负载、Pod 和关键字等不同维度对日志进行搜索。与 Kibana 相比,KubeSphere 基于租户的日志系统中,每个租户只能查看自己的日志,从而可以在租户之间提供更好的隔离性和安全性。除了 KubeSphere 自身的日志系统,该容器平台还允许用户添加第三方日志收集器,如 Elasticsearch、Kafka 和 Fluentd。
有关更多信息,请参见日志查询。
在安装前启用日志系统
在 Linux 上安装
当您在 Linux 上安装 KubeSphere 时,首先需要创建一个配置文件,该文件列出了所有 KubeSphere 组件。
-
基于在 Linux 上安装 KubeSphere 的教程,您需要创建一个默认文件
config-sample.yaml。通过执行以下命令修改该文件:vi config-sample.yaml备注
-
如果您采用 All-in-one 安装,则不需要创建
config-sample.yaml文件,因为可以直接创建集群。一般来说,All-in-one 模式是为那些刚接触 KubeSphere 并希望熟悉系统的用户而准备的。如果您想在这个模式下启用日志系统(比如用于测试),请参考下面的部分,查看如何在安装后启用日志系统。 -
如果您采用多节点安装,并且使用符号链接作为 Docker 根目录,请确保所有节点遵循完全相同的符号链接。日志代理在守护进程集中部署到节点上。容器日志路径的任何差异都可能导致该节点的收集失败。
-
-
在该文件中,搜寻到
logging,并将enabled的false改为true。完成后保存文件。logging: enabled: true # Change "false" to "true"备注
默认情况下,如果启用了日志系统,KubeKey 将安装内置 Elasticsearch。对于生产环境,如果您想启用日志系统,强烈建议在config-sample.yaml中设置以下值,尤其是externalElasticsearchUrl和externalElasticsearchPort。在安装前提供以下信息后,KubeKey 将直接对接您的外部 Elasticsearch,不再安装内置 Elasticsearch。es: # Storage backend for logging, tracing, events and auditing. elasticsearchMasterReplicas: 1 # total number of master nodes, it's not allowed to use even number elasticsearchDataReplicas: 1 # total number of data nodes elasticsearchMasterVolumeSize: 4Gi # Volume size of Elasticsearch master nodes elasticsearchDataVolumeSize: 20Gi # Volume size of Elasticsearch data nodes logMaxAge: 7 # Log retention time in built-in Elasticsearch, it is 7 days by default. elkPrefix: logstash # The string making up index names. The index name will be formatted as ks-<elk_prefix>-log externalElasticsearchUrl: # The URL of external Elasticsearch externalElasticsearchPort: # The port of external Elasticsearch -
使用配置文件创建一个集群:
./kk create cluster -f config-sample.yaml
在 Kubernetes 上安装
在 Kubernetes 上安装 KubeSphere 的教程中说明了在 Kubernetes 上安装 KubeSphere 的流程,不过,需要事先在 cluster-configuration.yaml 文件中启用日志系统(可选服务组件)。
-
下载 cluster-configuration.yaml 文件,然后打开并开始编辑。
vi cluster-configuration.yaml -
在该本地
cluster-configuration.yaml文件中,搜寻到logging,并将enabled的false改为true,以启用日志系统。完成后保存文件。logging: enabled: true # Change "false" to "true"备注
默认情况下,如果启用了日志系统,ks-installer 将安装内置 Elasticsearch。对于生产环境,如果您想启用日志系统,强烈建议在cluster-configuration.yaml中设置以下值,尤其是externalElasticsearchUrl和externalElasticsearchPort。在安装前提供以下信息后,ks-installer 将直接对接您的外部 Elasticsearch,不再安装内置 Elasticsearch。es: # Storage backend for logging, tracing, events and auditing. elasticsearchMasterReplicas: 1 # total number of master nodes, it's not allowed to use even number elasticsearchDataReplicas: 1 # total number of data nodes elasticsearchMasterVolumeSize: 4Gi # Volume size of Elasticsearch master nodes elasticsearchDataVolumeSize: 20Gi # Volume size of Elasticsearch data nodes logMaxAge: 7 # Log retention time in built-in Elasticsearch, it is 7 days by default. elkPrefix: logstash # The string making up index names. The index name will be formatted as ks-<elk_prefix>-log externalElasticsearchUrl: # The URL of external Elasticsearch externalElasticsearchPort: # The port of external Elasticsearch -
执行以下命令开始安装:
kubectl apply -f https://github.com/kubesphere/ks-installer/releases/download/v3.0.0/kubesphere-installer.yaml

kubectl apply -f cluster-configuration.yaml
在安装后启用日志系统
-
以
admin身份登录控制台。点击左上角的平台管理,选择集群管理。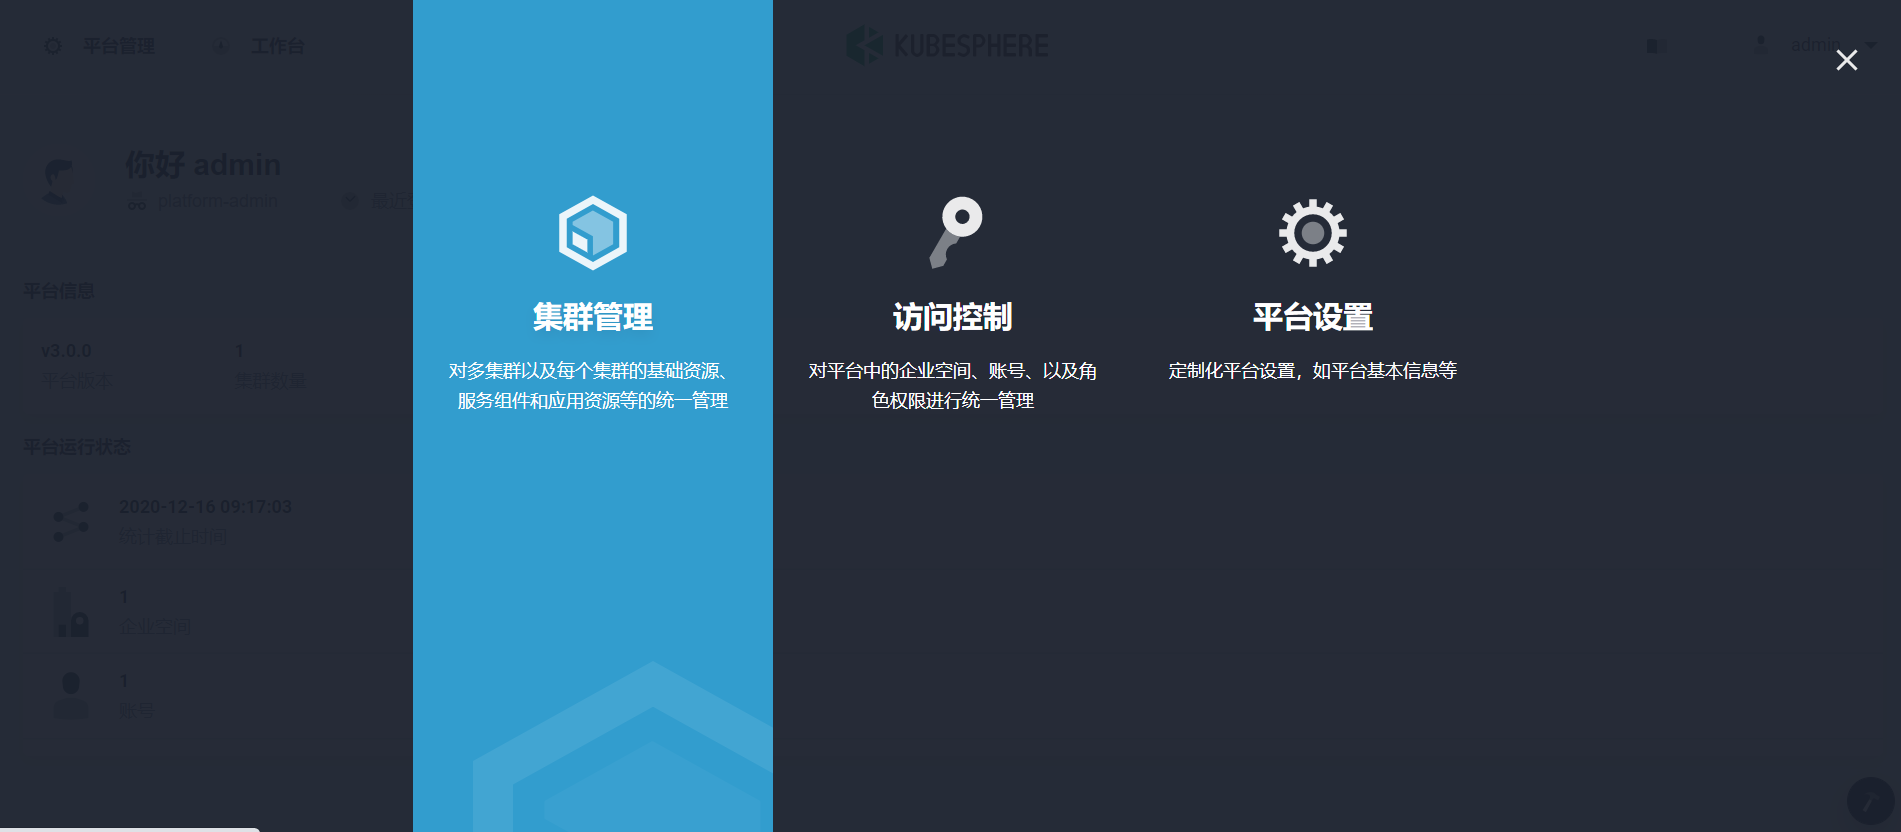
-
点击自定义资源 CRD,在搜索栏中输入
clusterconfiguration。点击结果查看其详细页面。信息
自定义资源定义(CRD)允许用户在不增加额外 API 服务器的情况下创建一种新的资源类型,用户可以像使用其他 Kubernetes 原生对象一样使用这些自定义资源。 -
在资源列表中,点击
ks-installer右边的三个点,选择编辑配置文件。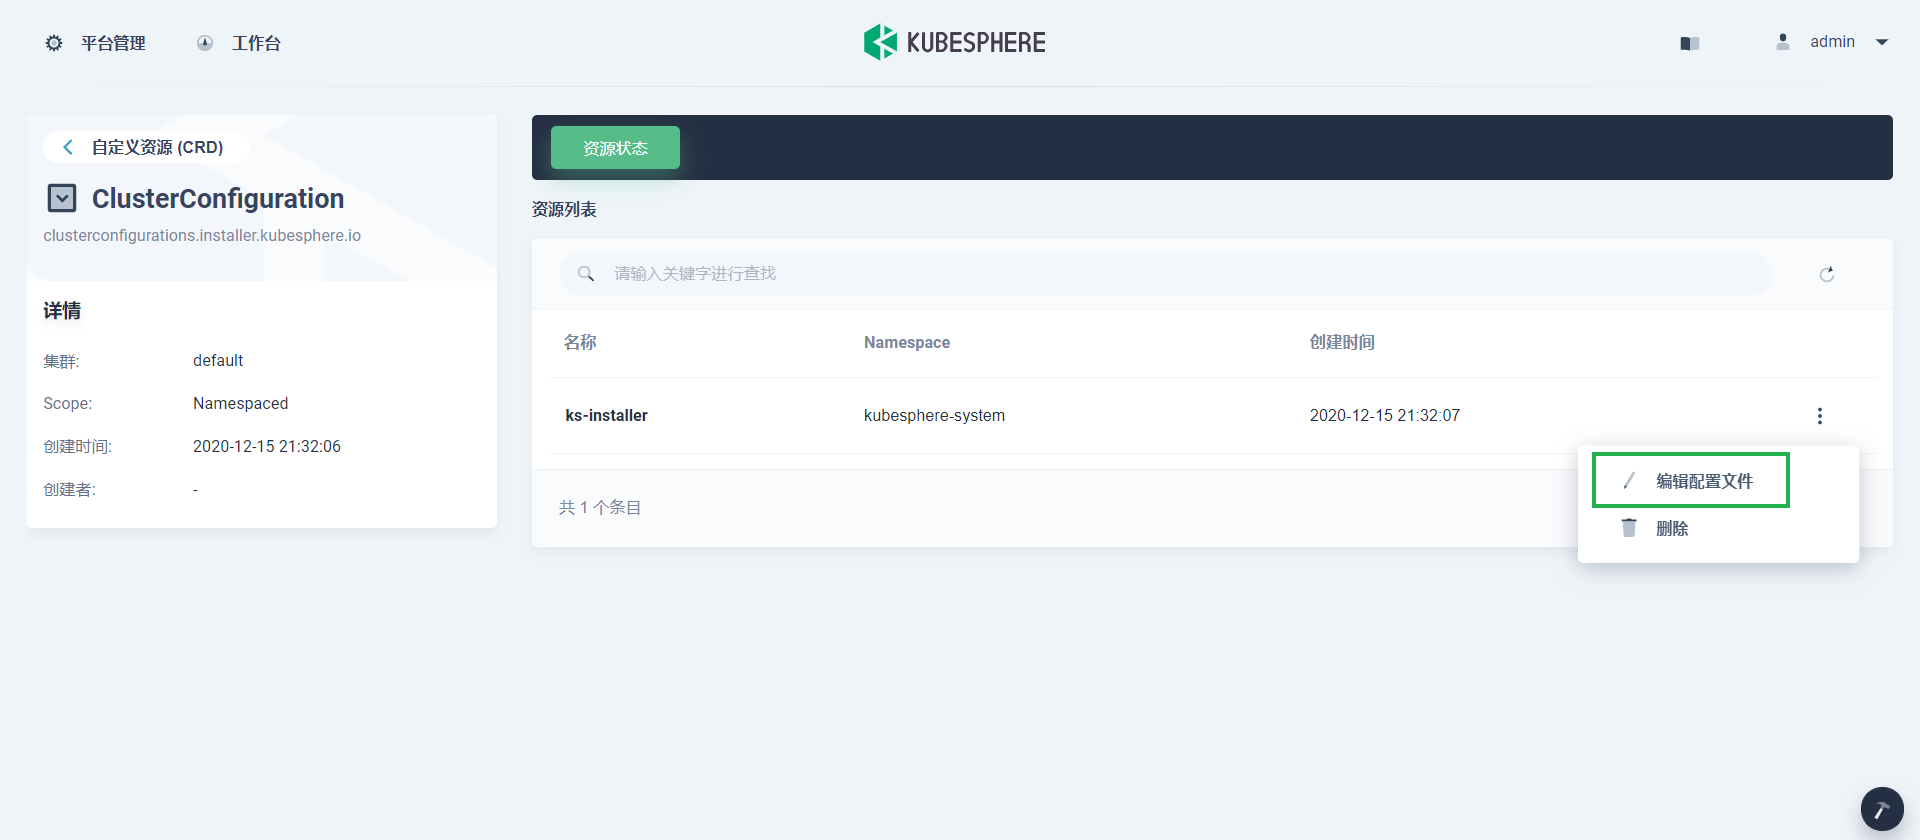
-
在该 YAML 文件中,搜寻到
logging,将enabled的false改为true。完成后,点击右下角的更新,保存配置。logging: enabled: true # Change "false" to "true"备注
默认情况下,如果启用了日志系统,将会安装内置 Elasticsearch。对于生产环境,如果您想启用日志系统,强烈建议在该 YAML 文件中设置以下值,尤其是externalElasticsearchUrl和externalElasticsearchPort。在文件中提供以下信息后,KubeSphere 将直接对接您的外部 Elasticsearch,不再安装内置 Elasticsearch。es: # Storage backend for logging, tracing, events and auditing. elasticsearchMasterReplicas: 1 # total number of master nodes, it's not allowed to use even number elasticsearchDataReplicas: 1 # total number of data nodes elasticsearchMasterVolumeSize: 4Gi # Volume size of Elasticsearch master nodes elasticsearchDataVolumeSize: 20Gi # Volume size of Elasticsearch data nodes logMaxAge: 7 # Log retention time in built-in Elasticsearch, it is 7 days by default. elkPrefix: logstash # The string making up index names. The index name will be formatted as ks-<elk_prefix>-log externalElasticsearchUrl: # The URL of external Elasticsearch externalElasticsearchPort: # The port of external Elasticsearch -
您可以使用 Web Kubectl 工具执行以下命令来检查安装过程:
kubectl logs -n kubesphere-system $(kubectl get pod -n kubesphere-system -l app=ks-install -o jsonpath='{.items[0].metadata.name}') -f提示
您可以通过点击控制台右下角的锤子图标找到 Web Kubectl 工具。
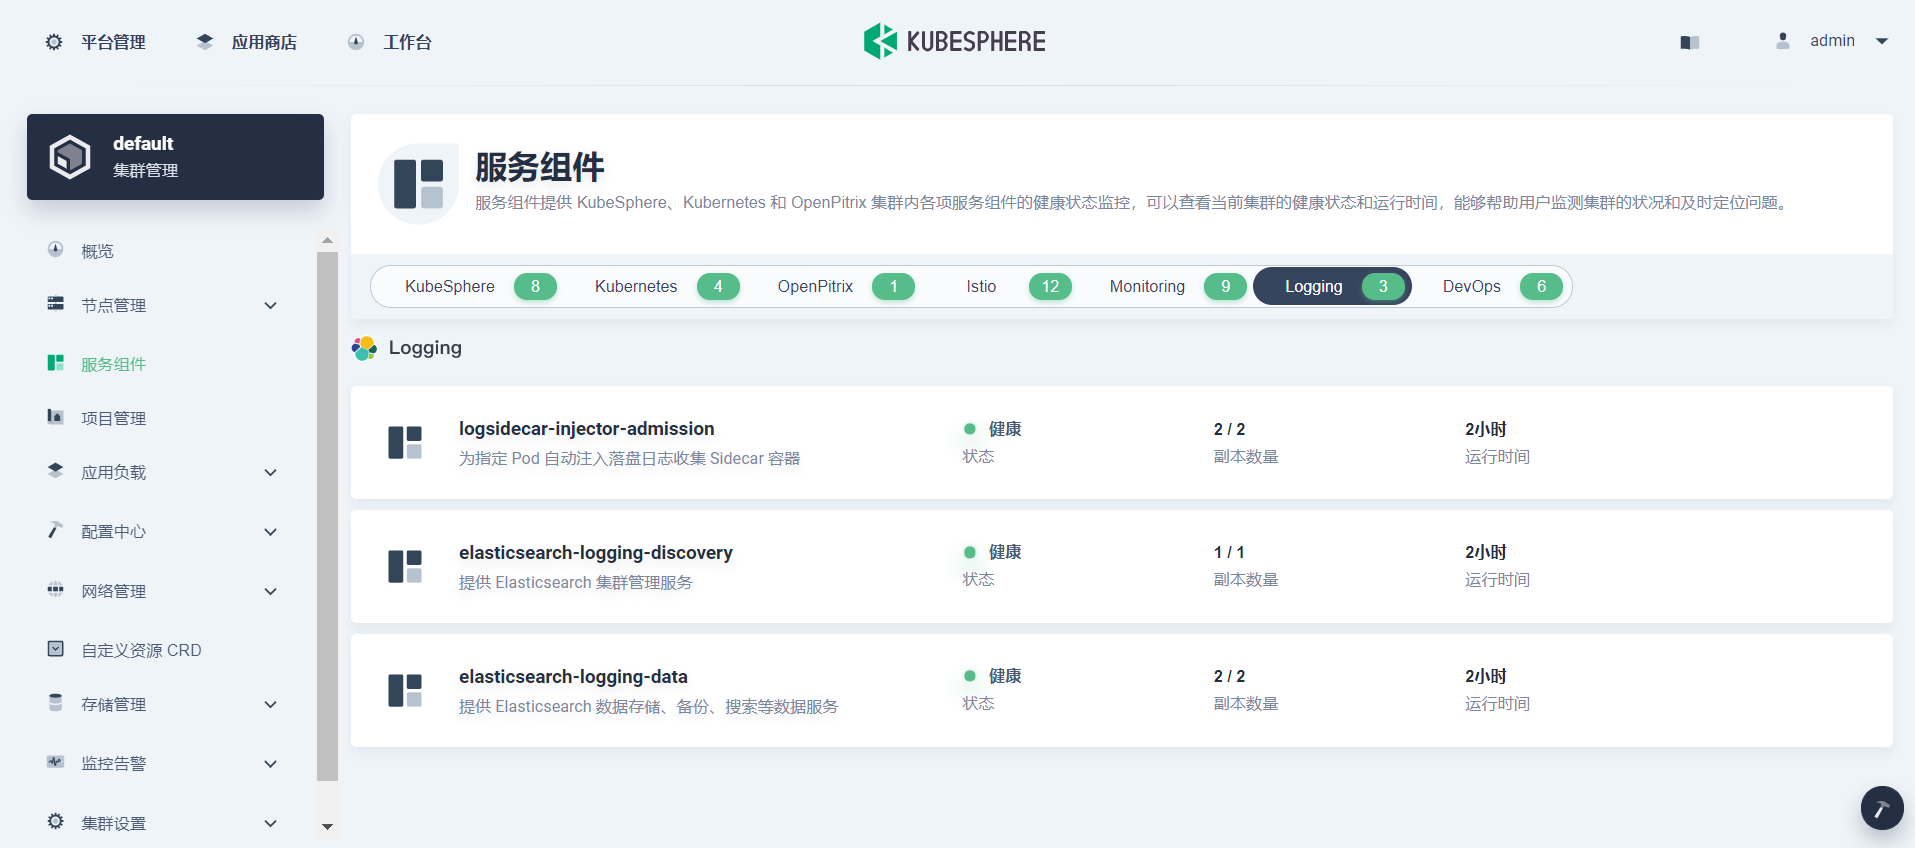
验证组件的安装
进入服务组件,检查 Logging 的状态,可以看到如下类似图片:
执行以下命令来检查 Pod 的状态:
kubectl get pod -n kubesphere-logging-system
如果组件运行成功,输出结果如下:
NAME                                          READY   STATUS    RESTARTS   AGE
elasticsearch-logging-data-0                  1/1     Running   0          9m33s
elasticsearch-logging-data-1                  1/1     Running   0          5m12s
elasticsearch-logging-discovery-0             1/1     Running   0          9m33s
fluent-bit-qpvrf                              1/1     Running   0          4m56s
fluentbit-operator-5bf7687b88-z7bgg           1/1     Running   0          9m26s
logsidecar-injector-deploy-667c6c9579-662pm   2/2     Running   0          8m56s
logsidecar-injector-deploy-667c6c9579-tjckn   2/2     Running   0          8m56s
 上一篇
上一篇

页面内容