


You are viewing documentation for KubeSphere version:v3.0.0
KubeSphere v3.0.0 documentation is no longer actively maintained. The version you are currently viewing is a static snapshot. For up-to-date documentation, see the latest version.


Set a CI Node for Dependency Caching
Generally, different dependencies need to be pulled as applications are being built. This may cause some issues such as long pulling time and network instability, further resulting in build failures. To provide your pipeline with a more enabling and stable environment, you can configure a node or a group of nodes specifically for continuous integration (CI). These CI nodes can speed up the building process by using caches.
This tutorial demonstrates how you set CI nodes so that KubeSphere schedules tasks of pipelines and S2I/B2I builds to these nodes.
Prerequisites
You need an account granted a role including the authorization of Clusters Management. For example, you can log in to the console as admin directly or create a new role with the authorization and assign it to an account.
Label a CI Node
-
Click Platform in the top left corner and select Clusters Management.
-
If you have enabled the multi-cluster feature with member clusters imported, you can select a specific cluster to view its nodes. If you have not enabled the feature, refer to the next step directly.
-
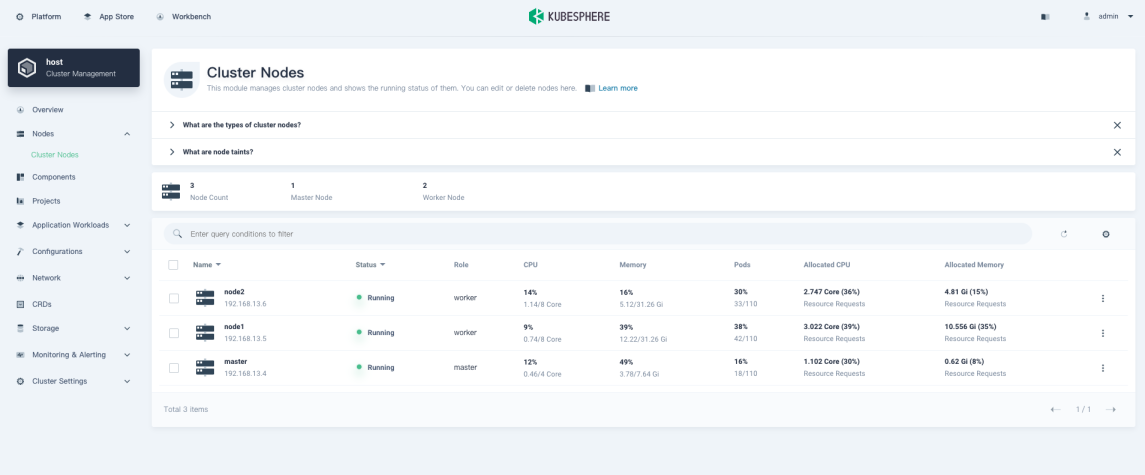
Navigate to Cluster Nodes under Nodes, where you can see existing nodes in the current cluster.
-
Choose a node from the list to run CI tasks. For example, select
node2here and click it to go to its detail page. Click More and select Edit Labels.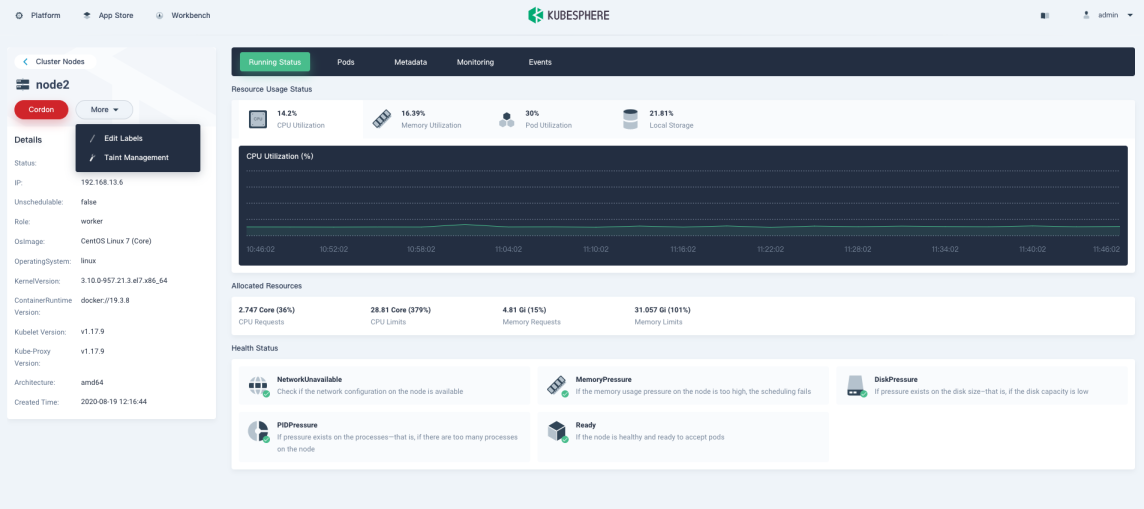
-
In the dialog that appears, click Add Labels. Add a new label with key
node-role.kubernetes.io/workerand valueci, and click Save.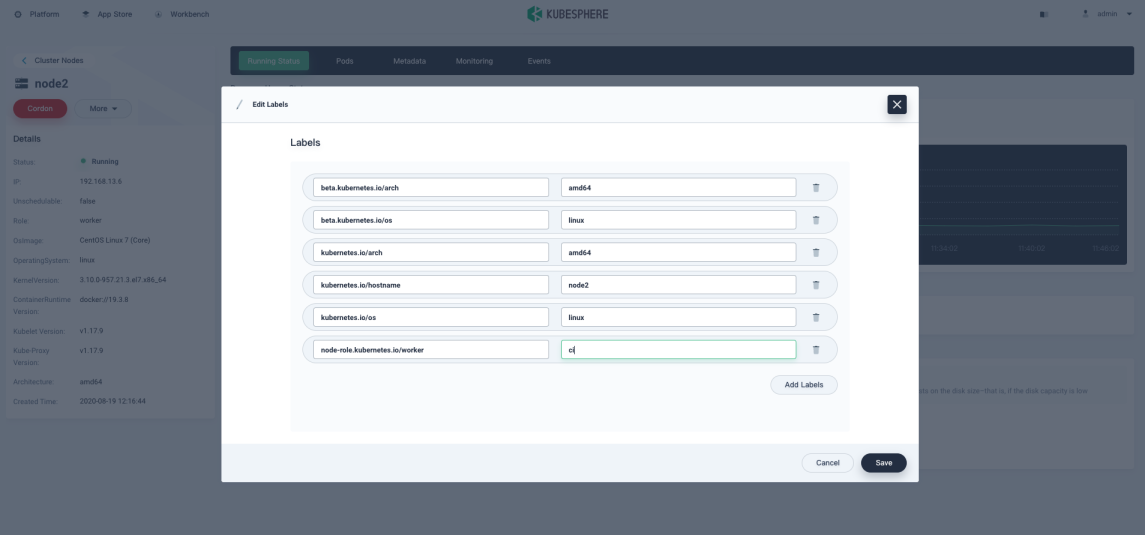
Note
The node may already have the key without a value. You can input the valuecidirectly.
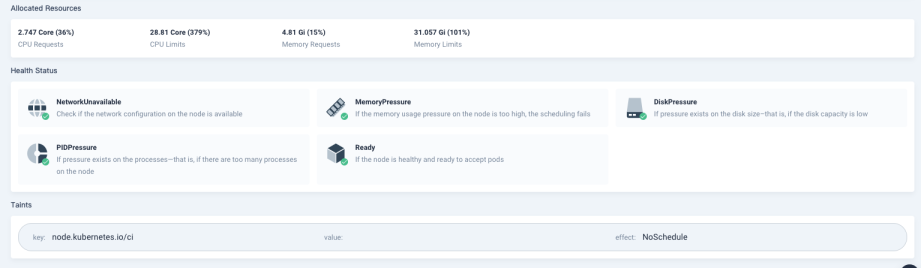
Add a Taint to a CI Node
Basically, pipelines and S2I/B2I workflows will be scheduled to this node according to node affinity. If you want to make the node a dedicated one for CI tasks, which means other workloads are not allowed to be scheduled to it, you can add a taint to it.
-
Click More and select Taint Management.
-
Click Add Taint and enter a key
node.kubernetes.io/ciwithout specifying a value. You can chooseNoScheduleorPreferNoSchedulebased on your needs.
-
Click Save. KubeSphere will schedule tasks according to the taint you set. You can go back to work on your DevOps pipeline now.
Tip
This tutorial also covers the operation related to node management. For detailed information, see Node Management.
 Previous

What’s on this Page